hhhyperfocus

joined 2 years ago
[–] hhhyperfocus@lemmy.world 1 points 1 month ago

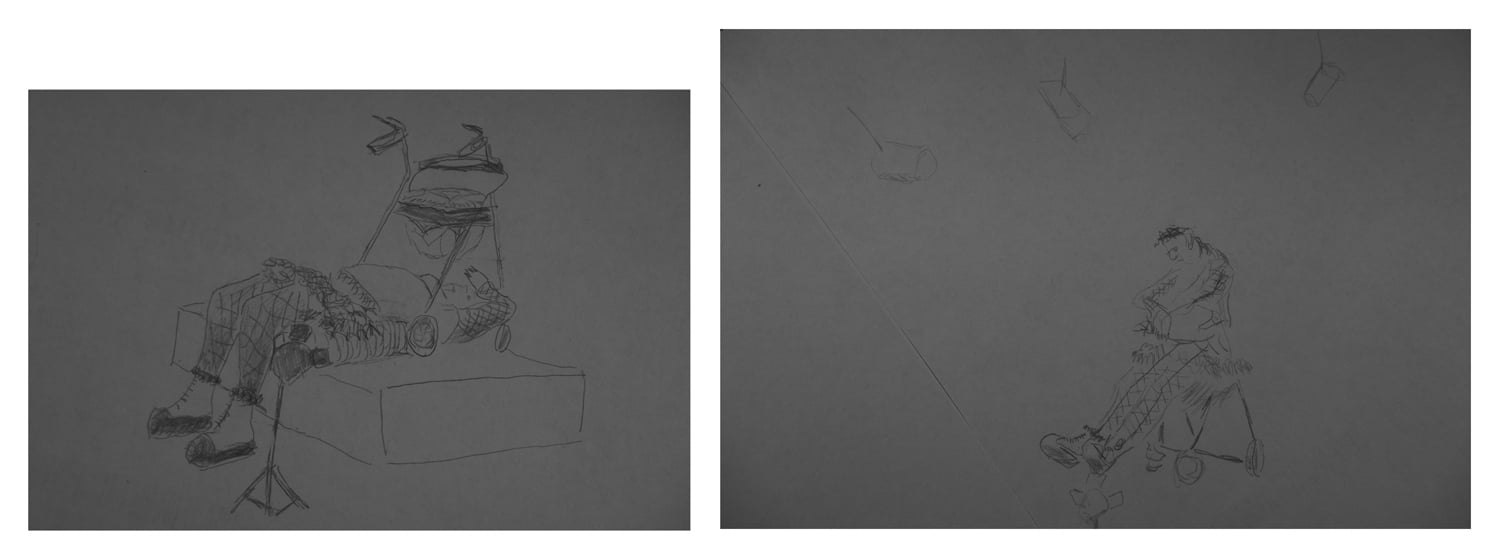
@Leavingoldhabits Hi again, I've started playing with an Arduino and a light sensor. At the moment all it can do is read the LED light source from the flatbed scanner during the calibration sequence, and record the results.

The N650U has three stages of calibration:

  1. It starts with the LED fluctuating between ambient brightness (860) and full brightness (700), then turns off briefly (860)
  2. Steady increase from ambient to full brightness.
  3. Steady decrease from full brightness back to ambient.

The next step will be to introduce some kind of timestamp for each moment of the recording. Then the hard bit will be to shine a light source onto the sensor so simulate a proper calibration.

I haven't recorded the calibration on the LiDe 110 yet, but I will. I didn't realize it when I modified it, but the book says it will scan at 2400x4800dpi which works out to over 550mp for an A4 scan, which dwarfs the 20mp of my mirrorless, lol.

[–] hhhyperfocus@lemmy.world 4 points 1 month ago (1 children)

Light rays thru a small aperture can be close to perpendicular when they hit the imaging plane. So you can move the imagine plane forwards and backwards a bit, and the circle of confusion stays about the same size. That's a deep depth of field.

Light rays thru a wide aperture hit the imaging plane at a shallow angle. So if you move the imaging plane even a little bit the circle of confusion changes size dramatically.

https://en.wikipedia.org/wiki/File:Depth_of_field_illustration.svg


Clockwise from top left:

  • Cabbage tree
  • My washing basket
  • A black carousell holding white cardboard slides
  • My kitchen floor
  • Center: the prism mounted on a 135mm lens on an APSC camera a friend lent to me.

These are basically straight out of the camera, with minor adjustments in RawTherapee and combined into one image with InkScape.

[–] hhhyperfocus@lemmy.world 1 points 5 months ago

So, I re-installed the prism, luckily it just slots back in. I'm not sure if it helped at all, I still get the much the same result most of the time.

I did manage to get this result. It's black at the top because the lid was closed. I opened the scanner half way thru, and the scan turned white. Then I waved the torch over the sensor and got a definite zigzag. And there's a hint of grey in the middle, which is encouraging.

So, the sensor is still working, it's responding to light, just not in a usable way.

[–] hhhyperfocus@lemmy.world 1 points 5 months ago (3 children)

So, when I say "change the image", I mean the torch does affect the calibration, in the sense that I get different patterns of stripes based on the position of the torch, but it's still just outputting stripes.

Here are two scans I made by waving the torch around randomly during the calibration, then resting the torch on the glass.

For some reason each pixel is just outputing the same brightness for the whole duration of the scan, except for that black spot where the torch is, which is weird.

[–] hhhyperfocus@lemmy.world 1 points 6 months ago (5 children)

I managed to change the image by just shining a torch into it during the calibration and the scan. This is exciting, I might be making progress :-)

[–] hhhyperfocus@lemmy.world 1 points 6 months ago

Ok, thank you.

[–] hhhyperfocus@lemmy.world 2 points 6 months ago

I genuinely laughed out loud at the title. Well done :-)

[–] hhhyperfocus@lemmy.world 1 points 6 months ago

Scanned with a modified N650U

[–] hhhyperfocus@lemmy.world 1 points 6 months ago* (last edited 6 months ago) (9 children)

@Leavingoldhabits Hi again, can I ask you some technical questions? I'm struggling modify my scanner. I've removed the clips holding the PCB, and I even made a test scan in that state, and it still worked. Then I spent hours milling out the pinhole array. But when I assembled it again, I get weird scans.

I have modified two different scanners. LiDe 110 - I get a tall narrow PNG file with some digital noise. I assumed I damaged the sensor, or a ribbon cable or something, so I shelved it, and looked for another scanner.

N650U - I took more care modifying this one. I get a full width PNG file, but it has a narrow strip of white on one side, and black everywhere else. I wonder if it is related to the initial calibration that it does before scanning. I left the LED in tact, but I removed the prism, so maybe it's lighting up just that one end of the calibration strip?

Did you have any calibration problems? Have you encountered anything like this? Do you have any advice?

Thanks

[–] hhhyperfocus@lemmy.world 2 points 9 months ago (1 children)

I stumbled onto another use for my contraption. I was invited to a life drawing class, and I'm terrible at drawing, so I replaced the scanner with just a sheet of blank paper, and I drew around the image that was formed on the paper.

The scale is limited by the lens I was using. These two are about A5, but I could have drawn them larger if I was sitting closer, or using a longer lens.

Lighting was an important aspect. The room was dark, and the model was under stage lights, and I was working under the hood.

I've always wanted to try a Camera Lucida, but it's difficult to justify buying the prism. Maybe I'll try some kind of teleprompter type setup next time.

[–] hhhyperfocus@lemmy.world 1 points 9 months ago

That's caused by the fresnel lens. Its a cheap plastic one that I picked up at a craft store.

view more: next ›